8 Ways to Fix Steam Is Having Trouble Connecting To The Steam Servers – Steam is a well-known platform for games and digital distribution. The number of games on Steam is currently estimated at 50,000 and all of them must be connected to the Steam servers before gamers can access them. Without accessing Steam, gamers will not be able to play the game.
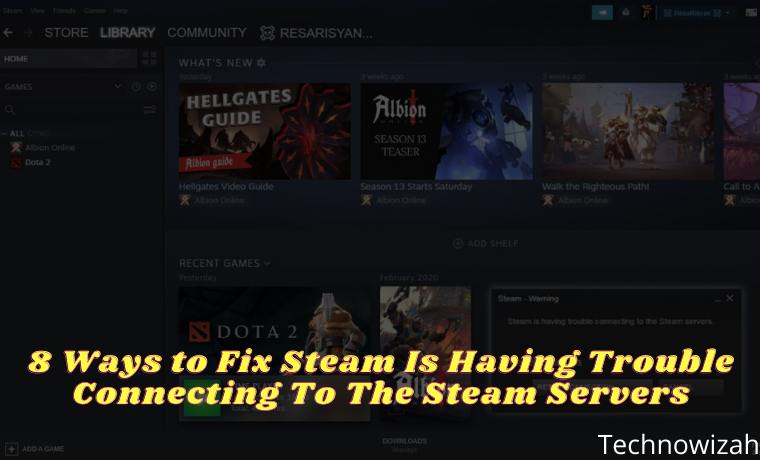
8 Ways to Fix Steam Is Having Trouble Connecting To The Steam Servers
And usually, an error message will appear ” Steam Is Having Trouble Connecting to the Steam Servers “. This error mostly appears when Steam users try to log in to their accounts and prevent them from accessing any games.
Read more:
- 6 Ways to Fix PAGE_FAULT_IN_NONPAGED_AREA in Windows 10
- 8 Ways to Fix Steam Can’t Open on Windows 10 PC
- 6 Ways to Fix Destination Folder Access Denied Windows 10 PC
- 6 Ways to Fix Error Code 0xc0000e in Windows 10 PC
If you are experiencing a similar problem, you don’t need to worry, because in this post the admin will provide a practical guide that can help solve the problem of Steam Is Having Trouble Connecting to the Steam Servers.
Cause of Error Steam Is Having Trouble Connecting To The Steam Servers
Below are some of the causes of the “Steam Is Having Trouble Connecting to the Steam Servers” error message on your PC:
- Lack of administrative permission
- UDP Protocol
- Internet connection settings are misconfigured or corrupted
- Outdated network adapter drivers
Fortunately, some of the methods below can help you resolve the Steam Is Having Trouble Connecting to the Steam Servers error.
How to Fix Steam Is Having Trouble Connecting To The Steam Servers
Connectivity errors are very common on Steam. Before applying complicated methods, I suggest you restart the PC first. Minor errors can usually be eliminated by restarting the PC. It refreshes the applications running on the system. It’s great for stopping corrupted temporary files.
If the problem persists. You can use the method below to fix the Steam Is Having Trouble Connecting to the Steam Servers error in no time.
#1. Check Steam Server Status
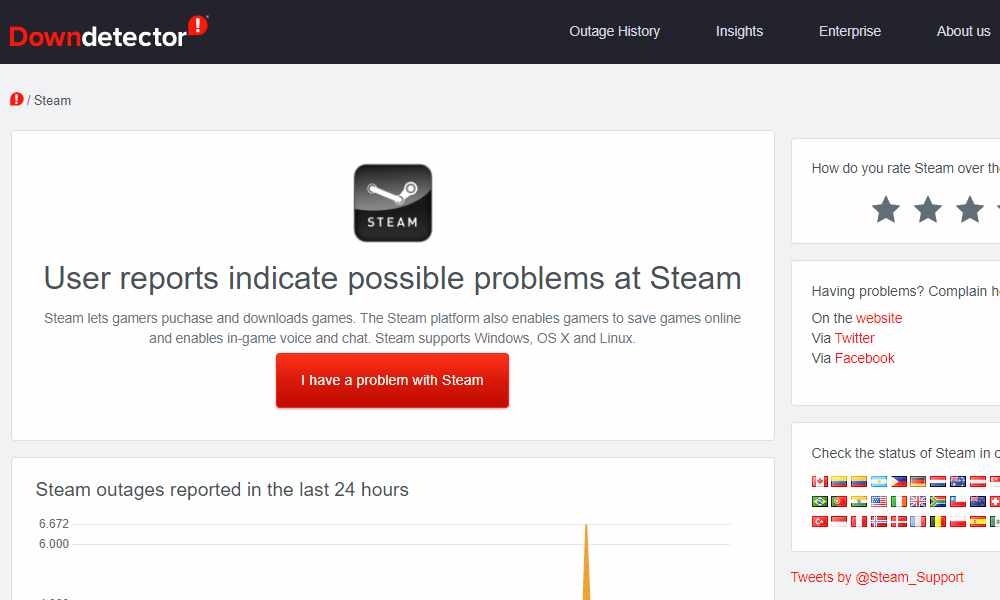
When having a Steam error from connectivity, the first thing to check is the server. While Steam server errors are rare, it never hurts to check them online. Sometimes, you may come across a situation when the server is under maintenance which causes the game to go offline.
For that, you can visit the DownDetector website to find out or check the Steam server status online.
#2. Restart Wi-Fi Router
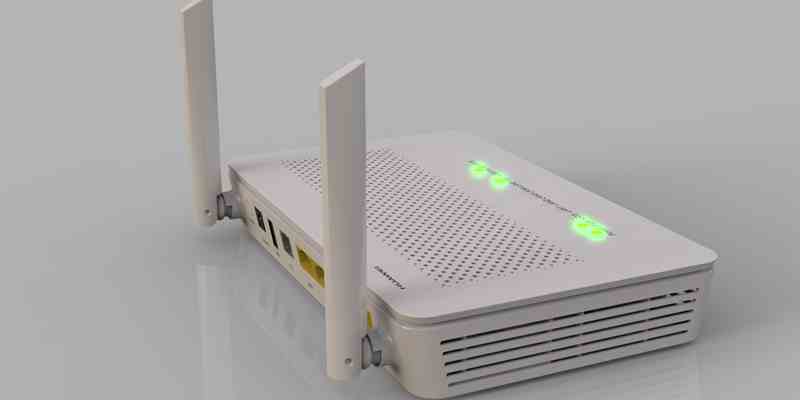
If you have a poor internet connection, you may experience problems launching Steam. Restarting your Wi-Fi router can help clear its memory and increase Wi-Fi speed. Here’s how to restart your modem & router:
- Unplug the modem (and router, if the device is separate) from the power outlet.
- Wait 60 seconds for the modem (and router) to cool down.
- Plug the network device back in and wait for the indicator light to return to normal.
- Restart your computer.
- Launch Steam and check if the error warning is fixed. If yes, then great! If it still appears, please go to the next method.
#3. Reset Winsock
Winsock is a data catalog that allows computer programs to access the internet. However, sometimes entries in the catalog may be incorrect or corrupted, causing network errors. To verify if this is the cause of the problem, you can do a reset on Winsock.
- On the keyboard press the Windows logo key and type cmd. Then right-click Command Prompt and select Run as administrator.
- In the Administrator Command Prompt window, enter the command netsh winsock reset, then press Enter. Then type netsh winhttp reset proxy and press Enter.
- Exit the Command Prompt window. Run Steam and check if the server connection error is resolved. If it still occurs, please proceed to the next method.
#4. Run Steam As an Administrator
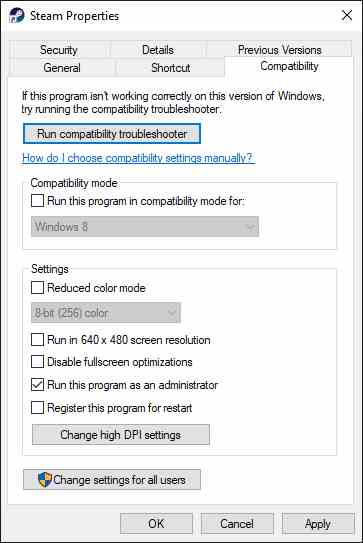
Another way to resolve the Steam Is Having Trouble Connecting to the Steam Servers error is to let Steam run as administrator. This gives Steam permission to access system files that are not running properly. To do this, follow the instructions below:
- Right-click on the Steam shortcut icon.
- Select Properties.
- Go to the Compatibility tab and then head to the Settings section.
- Select the “ Run this program as an administrator ” checkbox.
- Click the Apply button and then select OK to save the changes.
- Open Steam and check if the problem is solved.
#5. Flush DNS And Renew IP
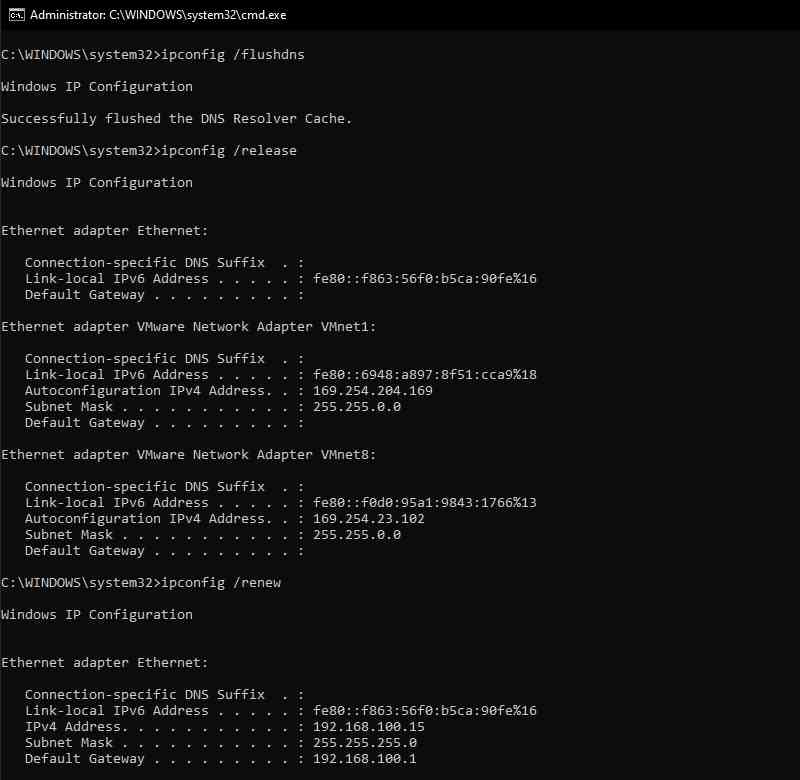
Generally, the computer will automatically save the IP address and domain name system results to speed up subsequent requests to the same domain. However, over time, the cached information may become corrupted, outdated, or incorrect, preventing you from connecting to the server. In this case, you have to flush DNS and renew IP to make sure the computer is communicating properly with the host.
- Press the Windows logo key and type cmd. Then right-click Command Prompt and select Run as administrator.
- When prompted for permission, click Yes to run the Command Prompt.
- Type ipconfig /flushdns and press Enter on your keyboard.
- Then enter the ipconfig /release and ipconfig /renew commands one by one on your keyboard.
- Launch Steam, play the game again, and see if the connection is smooth. If the error Steam is having trouble connecting to the Steam servers continues. Use the next method.
#6. Change Steam Properties
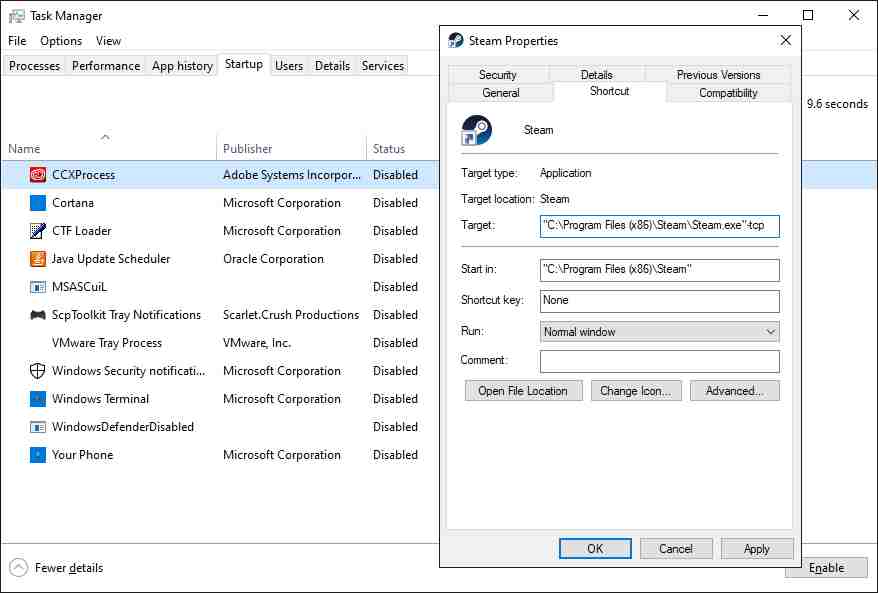
According to some gamers, launching Steam with TCP protocol instead of UDP protocol has helped them get rid of server errors. So it never hurts to try the following method tips and see if it solves your Steam problems.
- On the keyboard, press Ctrl + Shift + Esc simultaneously to open the Task Manager.
- Select the Startup tab, then right-click on each item and click Disable.
- Restart your computer.
- On your desktop, right-click on the Steam shortcut icon and click Properties.
- Click on the Shortcut tab, then in the Target field, add the -TCP command at the very end. Once done, click OK.
- Launch Steam and check if the error message Steam is having trouble connecting to the Steam servers is fixed.
#7. Allow Steam Through Windows Firewall
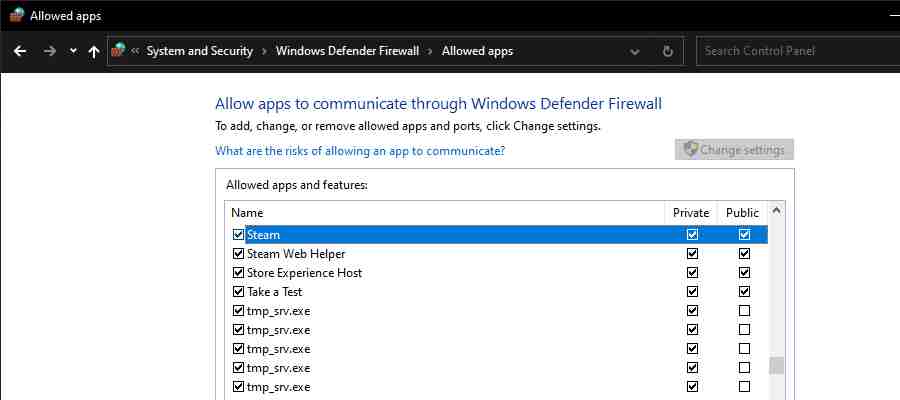
Windows Firewall is a built-in network security system that filters incoming and outgoing network traffic by allowing/blocking certain traffic based on security rules. You must allow the Steam client through the firewall to ensure that the connection is not dropped.
Windows Firewall also often limits the operation of gaming platforms. For that, you can change Windows Firewall settings for Steam as an exception and experience uninterrupted gaming.
- On the keyboard, press the Windows key + R simultaneously to launch the Run dialog box. Then type control firewall.Cpl into the box and press Enter.
- In the window that appears, click Allow an app or feature through Windows Defender Firewall.
- Browse the list of Allowed apps and features to see if the Steam launcher is included. Otherwise, click Change settings, click Allow another app…, then follow the on-screen instructions to add the app.
- Once done, click OK.
- Run the game on the Steam client and see if it can connect to the server.
Note: If you have an anti-virus application running on your computer, also make sure to disable it temporarily.
#8. Reinstall Steam
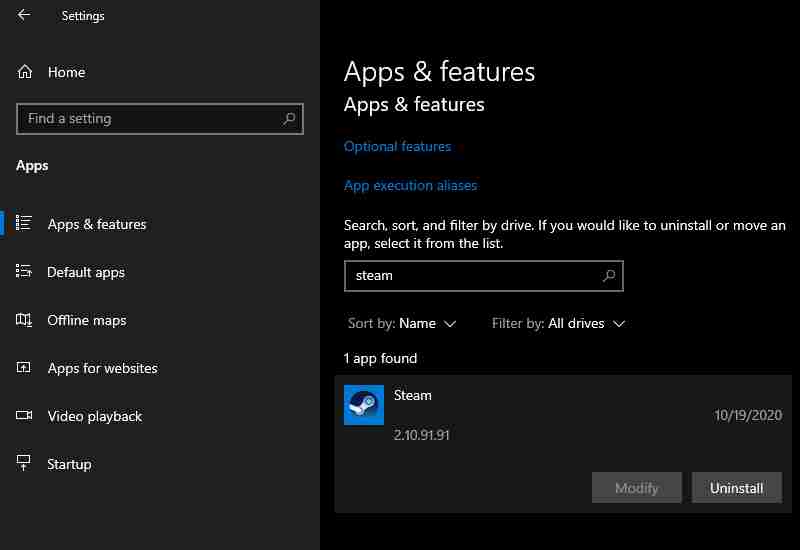
If none of the above methods can remove the “ Steam Is Having Trouble Connecting to the Steam Servers ” error, then you have no choice but to reinstall Steam. Doing so helped most people in the same situation get rid of the problem, and I hope it will work for you guys too. Here’s how to do it:
- Press Win key + I to launch Settings App.
- Open Apps.
- Scroll down the Apps & Features window and find Steam.
- Select it and click the Uninstall button.
- Follow further instructions to complete the process.
- When the application is completely uninstalled, reboot your computer.
- Now, to reinstall Steam on your PC, visit the Steam download page. Then click the INSTALL STEAM button.
- Find the downloaded file double click on it.
- Follow the on-screen instructions to complete the installation. You should now be able to access your Steam account and play games without issues.
Read more:
- 6 Ways to Fix Windows Boot Manager Error 0xc00000e9 PC
- 7 Ways to Fix Dxgkrnl Video Fatal Error on Windows 10 PC
- 9 Ways to Fix Critical Process Died in Windows 10 PC
Conclusion:
So, those are some ways to overcome Steam’s Trouble Connecting to the Steam Servers. We hope that one of the methods above can fix the problem and that you can play your favorite games on Steam.

![8 Ways to Fix The Hosted Network Couldn’t Be Started in Windows 10 [2026] 8 Ways to Fix The Hosted Network Couldn't Be Started in Windows 10](https://technowizah.com/wp-content/uploads/2021/07/8-Ways-to-Fix-The-Hosted-Network-Couldnt-Be-Started-in-Windows-10.jpg)
