8 Ways to Fix a Laptop That Can’t Be Charged – Your files can be compromised if your laptop is connected but not charging. You obviously can’t use your laptop comfortably without using the battery.
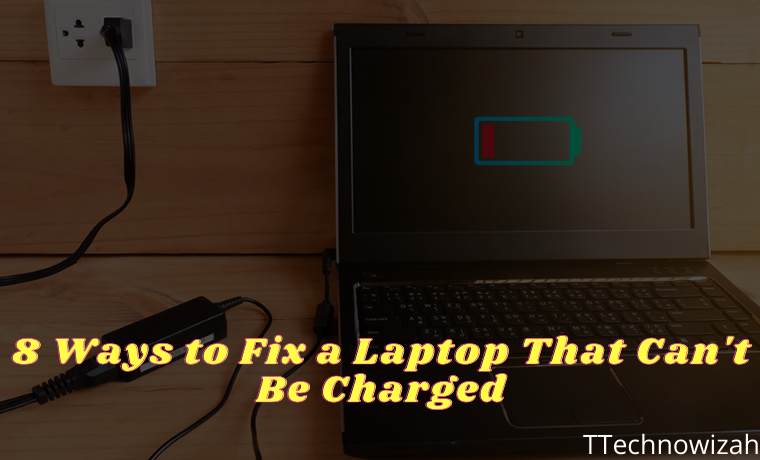
How To Repairing a Laptop That Can’t Be Charged 2024
But in most cases, you can find out where the charging problem lies to fix it. The admin will show you how to fix a laptop that can’t be charged. These tips work for all brands of laptop machines such as Dell, Lenovo, HP, and others laptops.
Read more:
- 8 Ways to Fix Stop Code Memory Management in Windows 10 PC
- 7 Ways to fix Unspecified Error 0x80004005 In Windows 10
- 6 Ways to Fix PAGE_FAULT_IN_NONPAGED_AREA in Windows 10
- 8 Ways to Fix Steam Can’t Open on Windows 10 PC
#1. Check the Physical Cable Connection
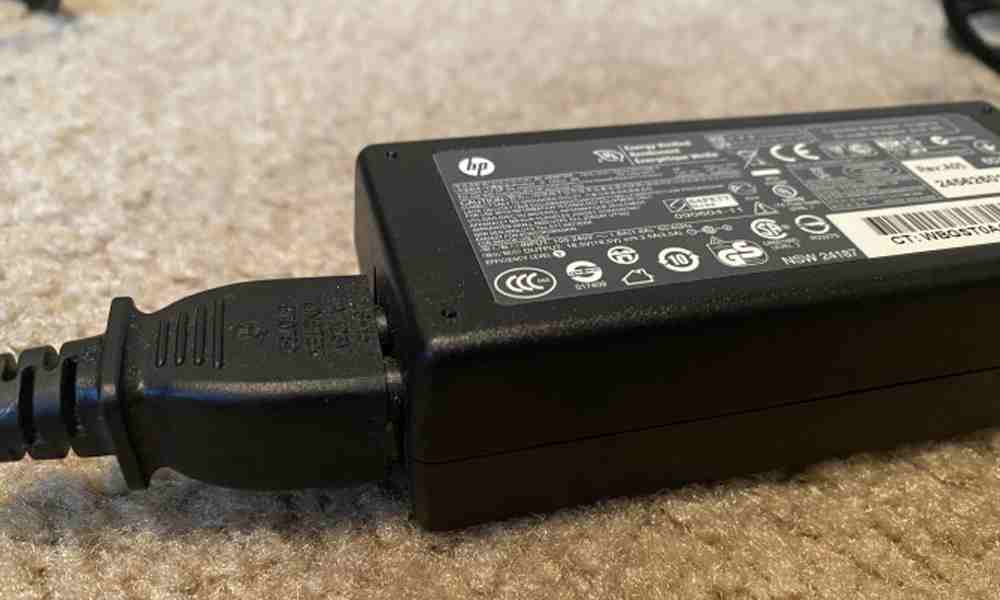
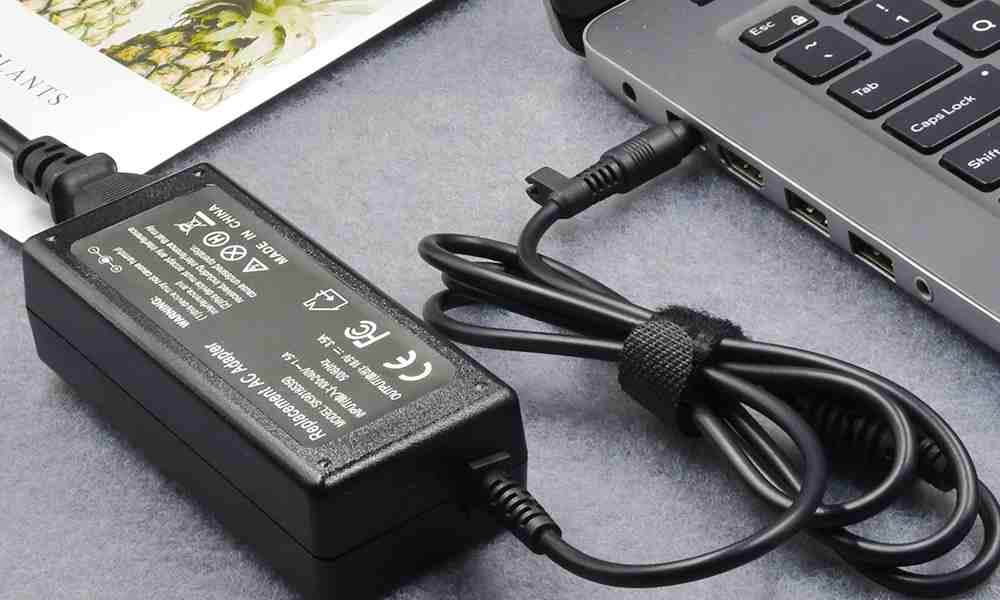
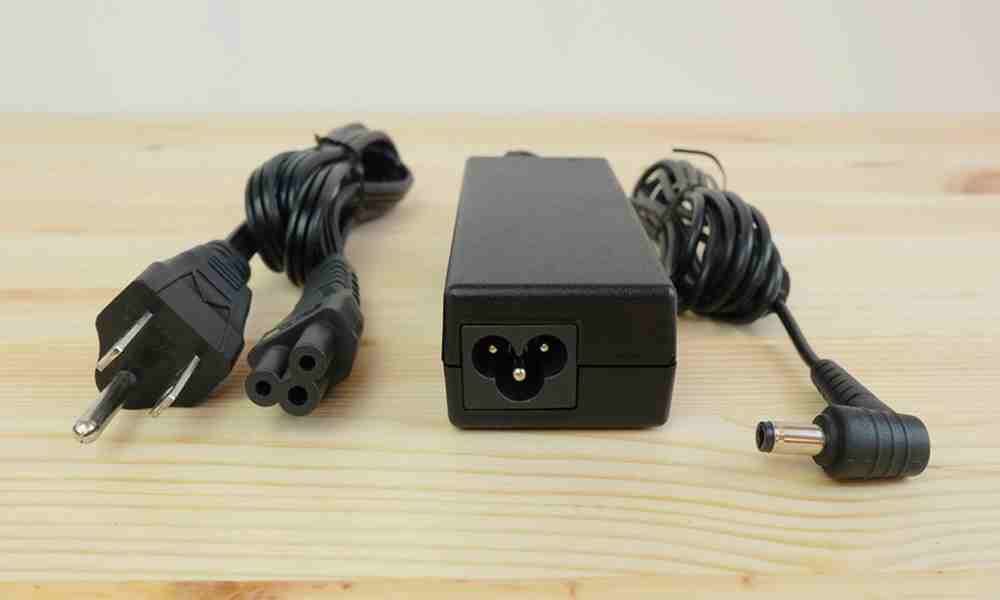
The first step to fixing a laptop that won’t charge before moving on to more advanced troubleshooting, first to check the basics. Make sure you have inserted the laptop charger cable firmly into the laptop’s charging port. Then double-check the connection to the mains plug, and consider trying another outlet if the current one doesn’t work.
Don’t forget to check the connection where the cable goes to the adapter as well, making sure it’s not loose when inserting it.
#2. Remove Battery And Connect to the Power
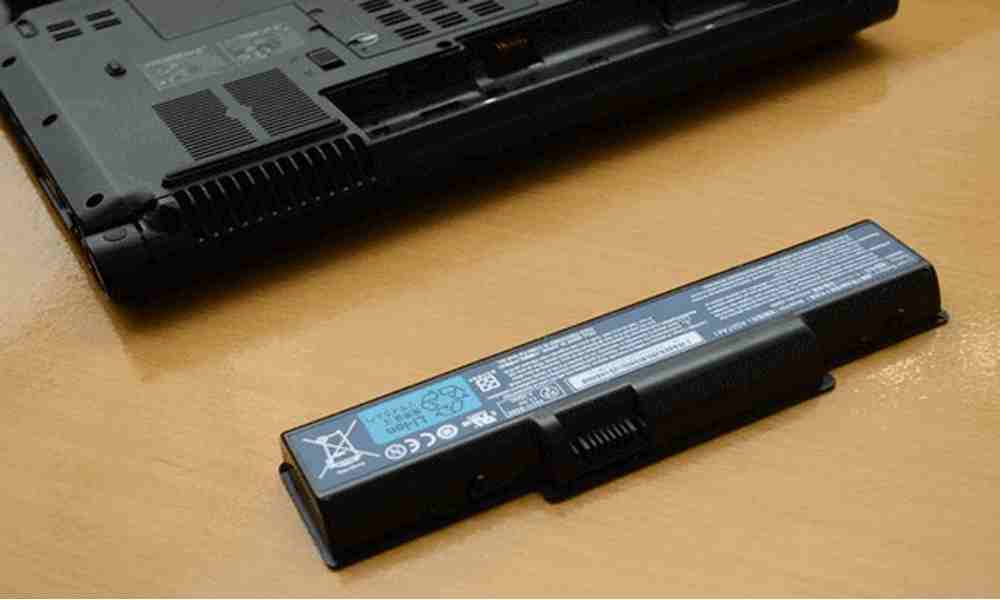
Next, to fix a laptop that can’t be charged, you have to determine whether the battery is working or not. If your laptop has a removable battery, remove it completely from your machine. You should always turn off the laptop before doing this (if it’s not already off) and unplug the charger.
Once you have removed the battery, hold down the power button for a few moments to clear any remaining charge in the system. Once done, connect the charger and try to turn on your laptop.
If it works normally, then the problem is with your battery. Put the battery back in the compartment. If this doesn’t fix the problem, you most likely have a dead battery that needs to be replaced.
If your laptop has a non-removable battery, you can try opening your machine and removing it yourself. However, doing so will likely void your warranty, and you could cause more damage to your laptop if you make a mistake. It’s safer to take your laptop to a repairman.
#3. Make sure to use the right charger and port
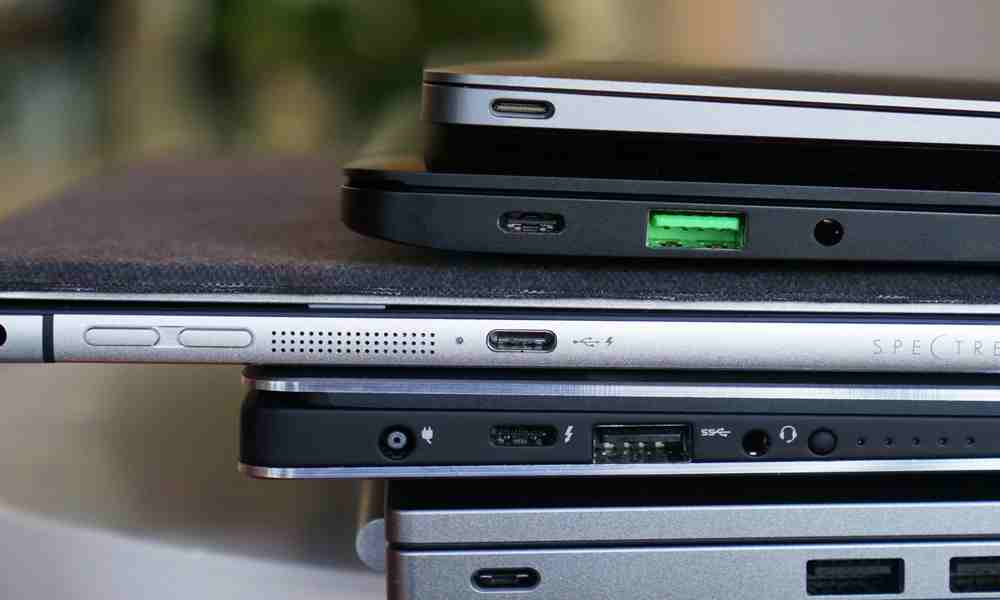
Next, you can check if the power has entered your laptop. Make sure your charger is connected to the right port on your laptop. Many laptops only have one place for the charger plug, but if you have a newer laptop, maybe use USB-C for charging. Try all the USB-C ports on your laptop, as some may be for data transfer only.
For best results, you should use the original charger that came with your laptop. Because fake chargers can damage your battery and cause permanent damage. Third-party models may not be using the right wattage, which can cause your laptop charger to be very slow or not charging at all.
#4. Check Cables and Ports for Damage
Even if you did a cursory check for cable connection problems beforehand, it’s a good idea to check the power cable more thoroughly.
Look down the entire length of the power cord for frayed or other damage. Try reaching for it to see if any part feels large or out of shape. It’s a good idea to smell the AC adapter part of the charger, if you smell burning, there’s probably something wrong in the box, and you’ll need to replace it.
Finally, look at the port for the charger on your laptop. You have to be quite snug when connecting the charger and make sure it doesn’t come loose.
Also check for dust or dirt inside the port, which could prevent you from making a good connection. You can clean this with a toothbrush, toothpick, or another small object.
By the way, to prevent future damage, you should leave the cable slack, so as not to put unnecessary pressure on the charger port. Avoid letting the AC adapter dangle from the table, which will pull on the connector and may damage the connection over time.
#5. Reduce Resource Usage
There is a possibility that your battery is not charging even if it is plugged in and not related to hardware. If your laptop is working really hard, your charger may not be charging fast enough.
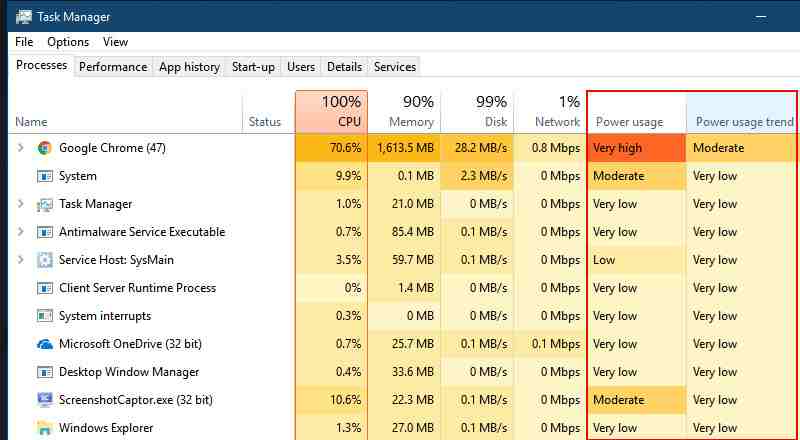
For example, if your laptop gets hot, the fans will have to work harder to cool it down, which will require more battery power. When you have a lot of power-hungry programs and processes running at once, they will suck up more battery power at a high rate. Open Task Manager ( Ctrl + Shift + Esc ) to check the current resource usage.
If you suspect this is the root of your charging problem, try closing some programs or shutting down your PC to cool down. Once it’s back to normal, turn it on and see if your charger can keep up with the battery at its usual workload.
#6. Check Windows Power Options
Other software issues can also cause your laptop battery to not charge. While Windows power plans don’t have specific options that will prevent your battery from charging, you may have a system configured to shut down at a certain battery level or similar.
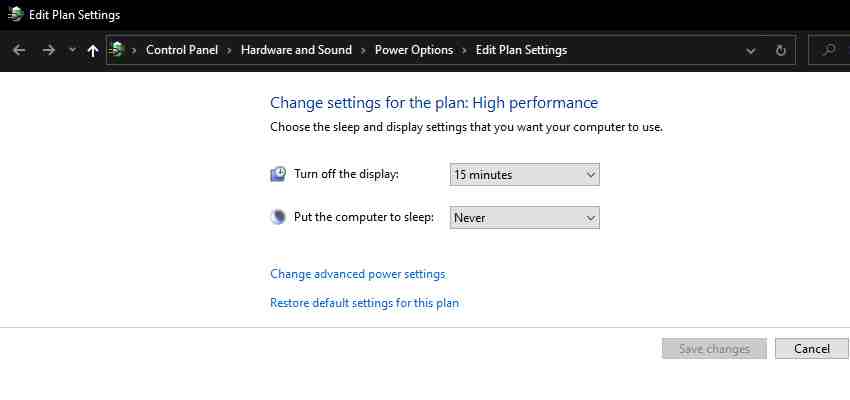
Visit the Windows power settings page by going to Settings > System > Power & sleep and clicking Additional power settings on the right side. There, click Change plan settings next to your current plan.
You can click Change advanced power settings if you want to see it, but it’s easiest to just select Restore default settings for this plan. Now see if it makes a difference.
#7. Update Or Reinstall Battery Drivers
Since your battery is an external device, Windows uses certain drivers to properly interact with it. If your laptop is still plugged in and not charging, updating or removing those drivers can start the charging process.
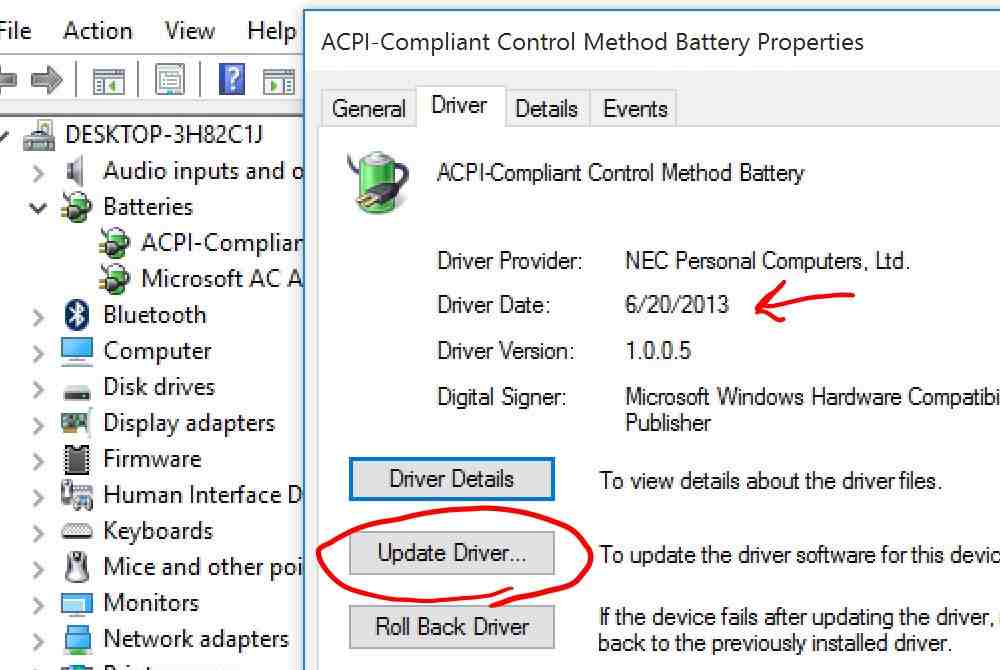
Right-click on the Start button or press Win + X, then select Device Manager from the resulting menu. Go to the Batteries section and you will see two entries: Microsoft AC Adapter and Microsoft ACPI-Compliant Method Battery.
Right-click on each of these and select Update driver, chances are it won’t find the update, but it’s worth a try. You can try updating drivers manually, but your laptop manufacturer may not provide battery-specific ones.
If the update does nothing, right-click on the respective battery driver and select Uninstall device. This will cause your laptop to stop interacting with the battery, but the drivers will reinstall when you reboot, so don’t worry.
After rebooting, let Windows reinstall the battery driver, and hopefully, it will start charging. If that doesn’t work, repeat the process, but once you turn it off after uninstalling, unplug your charger, take out the battery, then put everything back and restart your laptop.
#8. Try another charger
At this point, you’ve tried everything that costs nothing. The final solution is to order a new laptop charger or use one from a friend if they have the same laptop and see if it works.
While you’ll find cheap third-party chargers at online shops and other retailers, it’s a good idea to use an official charger whenever possible. Third-party components often don’t meet the quality standards of genuine components, and when it comes to chargers, using cheap ones can damage your laptop or even cause a fire. If original chargers aren’t an option, check out reviews to make sure whichever charger you choose is safe.
Read more:
- 20 Best Windows 10 Themes Cool And Free Desktop
- 5 Ways to Fix You Need Permission To Perform This Action
- 7 Ways to Fix Error Code 0x80070005 In Windows PC
Conclusion:
So those are some ways to deal with a laptop that can’t be charged. Hopefully, some of the steps above fix your laptop charging problem. If the problem persists, the inside of your computer may be damaged, causing the battery to not function properly. You should take it to a computer repairman to have it checked, they may recommend replacing your laptop battery.
Keep in mind that the capacity of the battery will decrease with certain usage, this usually causes the battery to not be able to charge as much as usual. So the older the battery, the less it can charge. You can analyze the health of your laptop battery using a tool like BatteryInfoView.
Don’t forget to bookmark and always visit every day Technowizah.com because you can find here the latest Tech Computer Android games How-to Guide Tips&Tricks Software Review etc, Which we update every day.


![6 Ways to Fix System Thread Exception Not Handled in Windows 10 [2024] 6 Ways to Fix System Thread Exception Not Handled in Windows 10](https://technowizah.com/wp-content/uploads/2021/07/6-Ways-to-Fix-System-Thread-Exception-Not-Handled-in-Windows-10-218x150.jpg)





![10+ Ways To Take Screenshot on Asus Laptop Windows 10 [2024] How To Take Screenshot on Laptop and PC Windows](https://technowizah.com/wp-content/uploads/2020/06/How-To-Take-Screenshot-on-Laptop-and-PC-Windows-100x70.jpg)
